Deliver to
France
£
change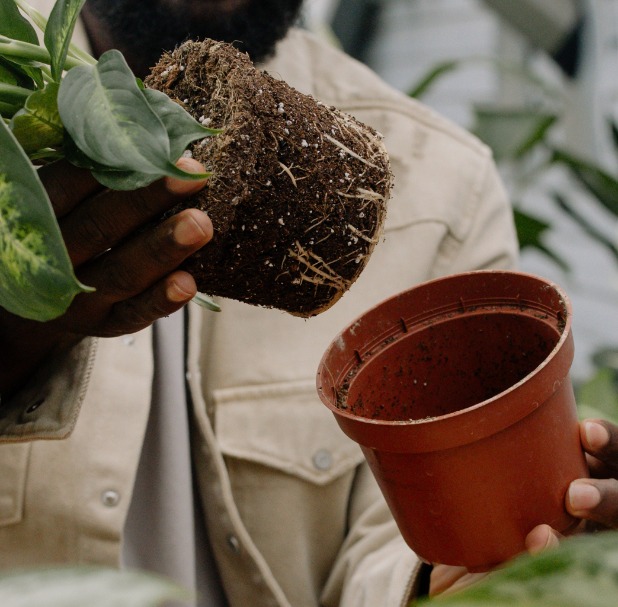
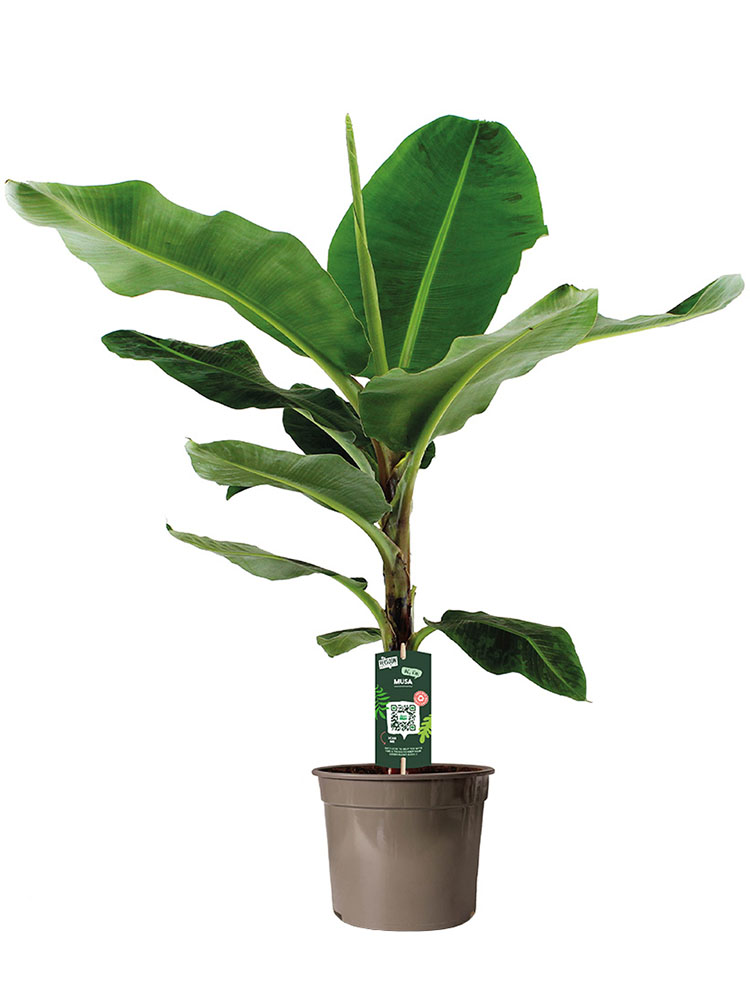
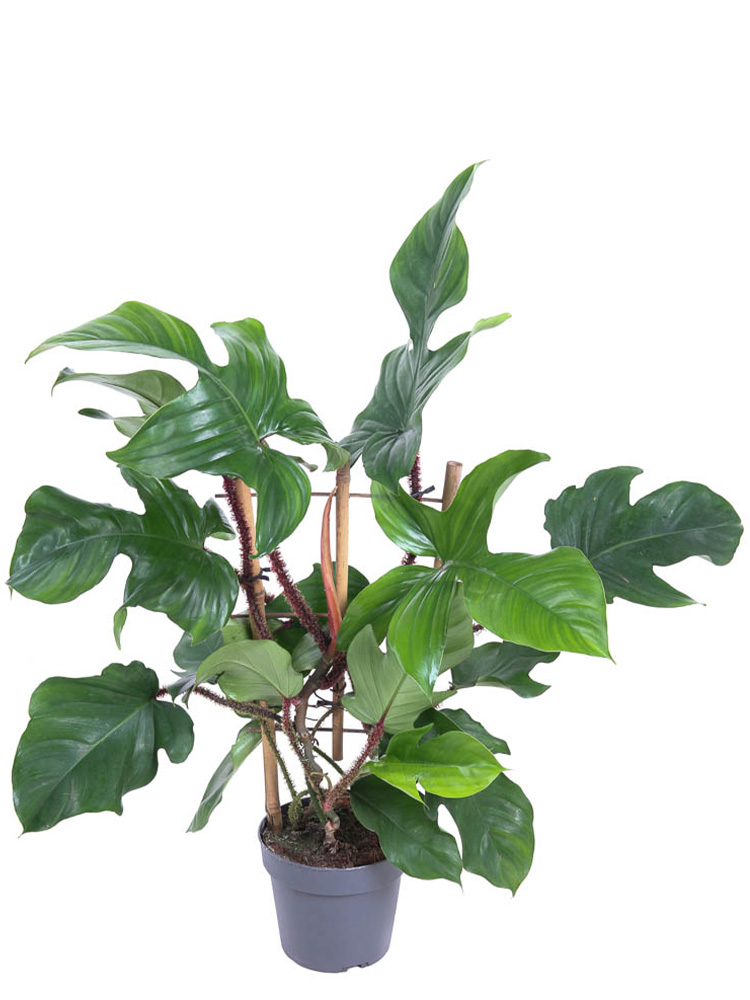
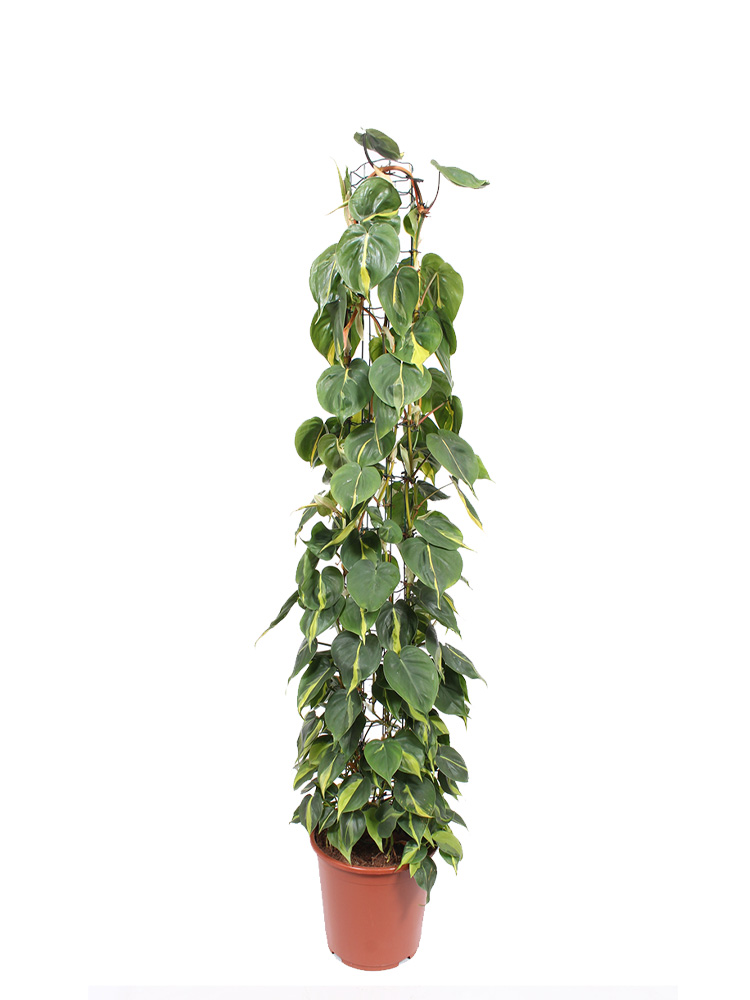
Plants grow just like people. They grow bigger and simply need a bigger home. You can’t have a toddler put on a baby romper. The same goes for plants.
It is certainly not necessary to repot a houseplant every year. Especially not a cactus or succulent plant. Even without a plant growing visibly, repotting can be good for the plant.
Repotting starts with the right preparation. Therefore, buy in advance a flowerpot that is 20% larger. If you now have a 16 centimeter flowerpot, then the next pot should be at least 19 centimeters.
Do you have a 20% larger flowerpot at home? That’s absolutely great! Please clean the old pot beforehand. In this way you can prevent any remaining soil from causing unnecessary bacteria.
The most convenient way to get a plant loose from its pot is as following. Lift the pot and keep it on its side. Shake gently, and try to loosen the plant with the shaking.
If the plant is still in a growing pot you can gently push the pot by its sides. In this way the soil will come loose from the pot. If this doesn’t work enough you can eventually cut the pot loose. Make sure you do this as close to the side as possible, so you don’t damage the roots unnecessarily.
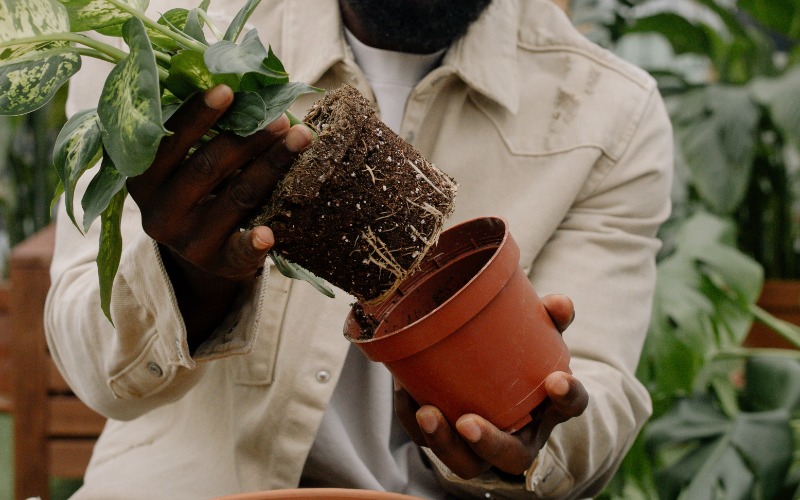
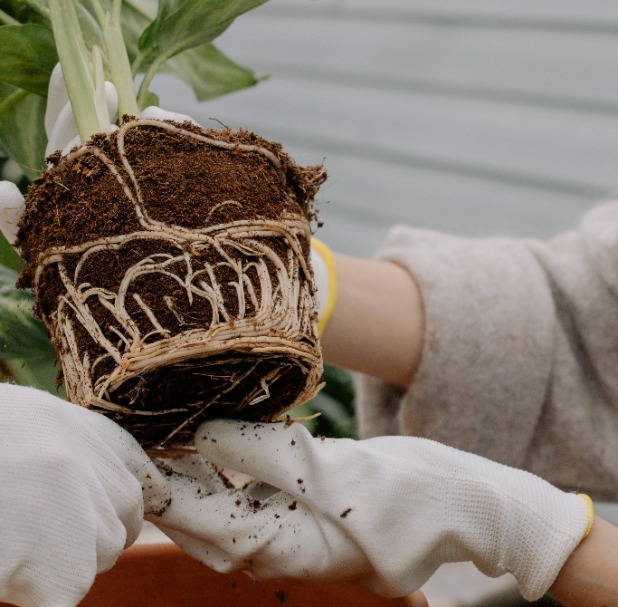
If you have been able to remove the plant from the old pot, it is best to remove some old soil too. When the soil is still formed as a pot you can remove large parts of the soil by hand.
As soon as most of the old one has come loose you can shake the plant back and forth for a while.
Then it’s time to provide the new flowerpot with a good soil. Sprinkle a layer of hydro grains or other soil cover (gravel, pot shards etc.) on the bottom. How high you should put the layer of ground cover its best to read the packaging. This can vary per species.
Then apply a layer of fresh potting soil to the ground cover.
Once you have formed the soil, you can place the plant in the middle of the pot. It’s best to push the plant a little. At least then you know for sure that the plant is in the middle.
When the plant is nicely in the flowerpot you can add the rest of the soil. It is best to add a little extra soil on different sides of the plant each time. Otherwise it can happen that the plant will still be placed at an angle in the pot.