Tips for repotting indoor plants

Houseplants grow – just like us – and at some point, they simply need more space. Just like you wouldn’t squeeze a toddler into baby clothes, you can’t expect a plant to thrive in the same pot forever.

But even if your plant doesn’t look much bigger, repotting might still be a great idea. The roots might be crammed, or the soil could be totally depleted. What’s going on under the surface – and how do you deal with it? Keep reading!

Why repot a houseplant?

Refresh the nutrients

Repotting doesn’t just give your plant a bigger pot – it also means fresh soil. That new compost is full of nutrients your plant needs to grow. The old soil? Pretty much used up. Time to give your green buddy a nutrient boost!

Encourage root and plant growth

A bigger pot = more space for roots = stronger roots and a healthier plant. Repotting literally gives your plant room to grow and flourish.

Prevent root rot

Old potting soil can get compacted, making it harder for water to drain. Fresh soil is lighter, drains better, and allows more oxygen in – reducing the risk of root rot. If you add clay pebbles or lava rock at the bottom, you’ll give your plant an even better environment to thrive in.

Improve water absorption

Fresh soil holds moisture better and distributes it more evenly. That means your plant stays hydrated longer, without sitting in soggy soil.

When’s the best time to repot?

Spring is the perfect time for repotting – your plants are waking up from winter and ready to grow! Missed spring? No worries – summer works too.

Autumn and winter? Best to skip, unless it’s really urgent (like root rot or a way-too-small pot). During colder months, plants go into rest mode and might not bounce back as easily after repotting.

How often should you repot?

Most houseplants do fine with repotting every 2 years. Fast growers might need it more often, while slow-growers can stay put for longer. See roots poking out the bottom? Soil drying out super fast? Then it’s time!

Is your plant ready for a new pot?

Not every plant needs a bigger pot each year, but here are some signs yours might:

  • Roots coming out of the bottom: Your plant is escaping! Time for a size upgrade.

  • You’re watering all the time: If the soil dries out super fast, it might be packed with roots and holding less water.

  • Growth has slowed down or stopped: Especially in spring, this could be a sign the roots are cramped.

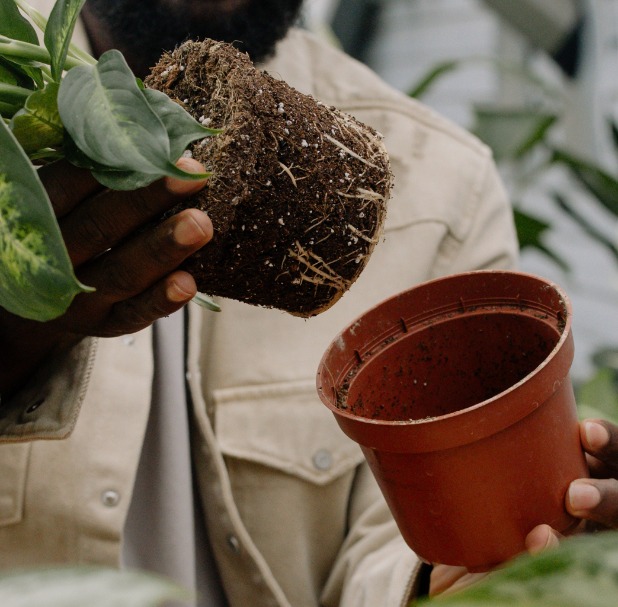
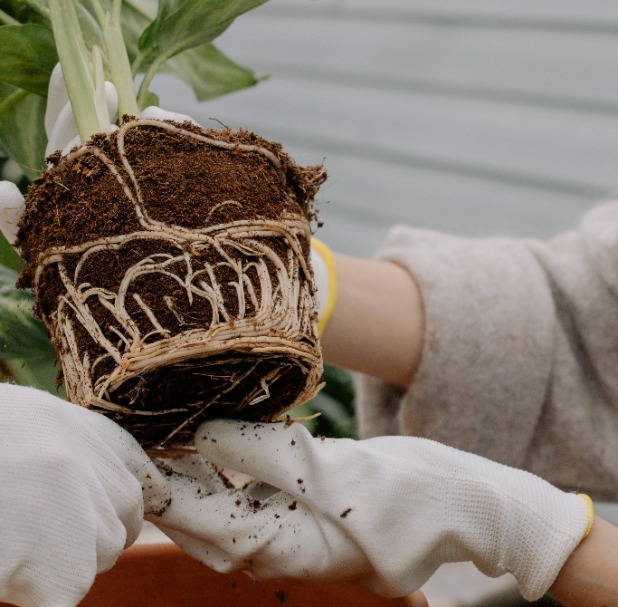
  • Roots circling the root ball: Gently slide the plant out of its pot. Are the roots tightly spiralled around the soil? That’s a clear sign!

  • The plant is top-heavy or keeps falling over: Time for a sturdier, bigger pot.

Recognise any of these? Then it’s definitely time to give your plant a fresh start.

Step-by-step: how to repot your houseplant

1. Pick a bigger pot

Choose one that’s about 20% larger than the current one. If your pot is 16 cm, go for 18–20 cm. Make sure it has a drainage hole! No hole? Drill one, or use a nursery pot inside a decorative one.

2. Remove the old pot

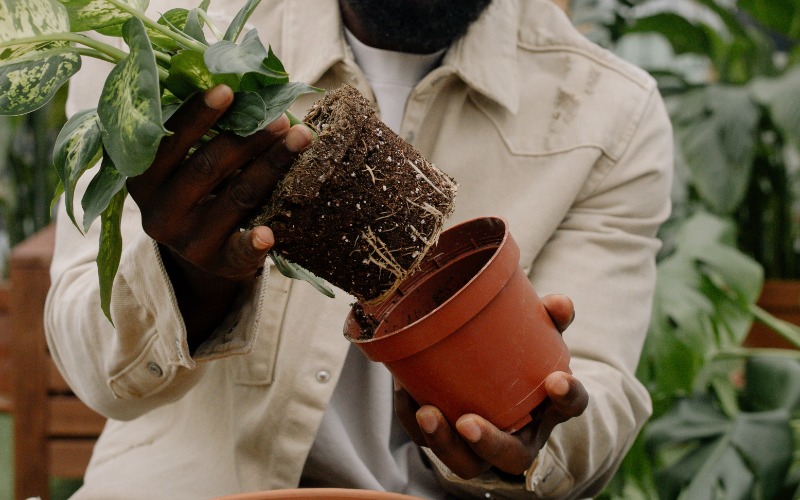
Tilt the pot and gently loosen the plant. If it’s in a nursery pot, squeeze the sides to loosen the soil. Tap the bottom – or, if needed, cut the pot away carefully.

3. Get rid of the old soil

Gently shake off some of the old soil. Remove large clumps by hand. Check the roots too: trim any mushy or rotten ones with clean scissors. Healthy roots are firm and white(ish).

4. Add clay pebbles, lava rock or fresh soil

Add a layer of clay pebbles, lava rock, gravel or broken pot shards to the bottom for drainage. Then add a layer of fresh soil, deep enough for the roots to sit in nicely.

5. Place the plant in the new pot

Make sure it sits upright and stable. Add a little extra soil underneath if needed to get it at the right height.

6. Fill up with soil

Add more soil around the plant and press it down gently. Leave a couple of centimetres at the top – that way, water doesn’t spill over when you water it.

Shop our Indoor plants

Extra tips for repotting houseplants

1. Go for a pot with a drainage hole

It helps prevent root rot and makes it easier to get rid of excess water. Or use a decorative pot with an inner nursery pot – that way, any water stays away from the roots.

2. Use a moisture meter

Not sure when to water? A moisture meter helps you figure it out – no more guessing! Just check the instructions, as they can work differently.

3. Combine with clay pebbles or lava rock

This helps balance air and water in the soil. Together with a moisture meter, it’s the perfect setup for happy, healthy plants.

4. Add a layer of hydro grains or vulcastrat

For the perfect air–water balance in the soil, pop some hydro grains or vulcastrat at the bottom of the pot. Combine this with a water meter and you're all set for happy roots.

5. Wear gloves

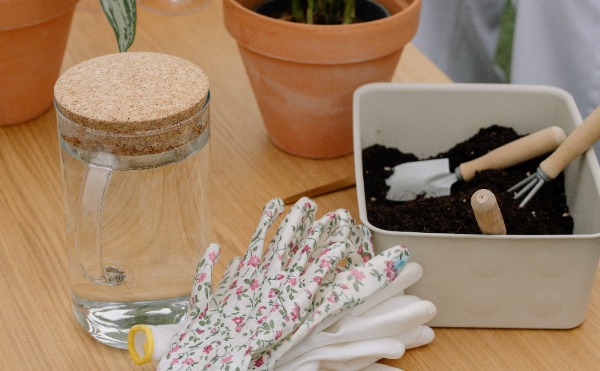
Some plants (like cacti or ones with irritating sap like Dieffenbachia or Ficus) can be tricky to handle. Gloves protect your hands from scratches and irritation.

6. Don’t add extra fertiliser

Fresh potting soil already contains nutrients. Adding fertiliser on top can actually harm the plant. So hold off for a few weeks – most potting soil feeds your plant for around 6 weeks.

7. Keep your plant out of direct sunlight

Repotting can be a bit stressful for your plant. Place it somewhere bright but out of direct sun for a few days to let it recover gently.

8. Sprinkle some cinnamon on the roots

Sounds odd, but cinnamon has light anti-fungal properties and can help small root wounds heal faster.

Follow us on Instagram