Customers rate us



Deliver to
Belgium
 English
£
change
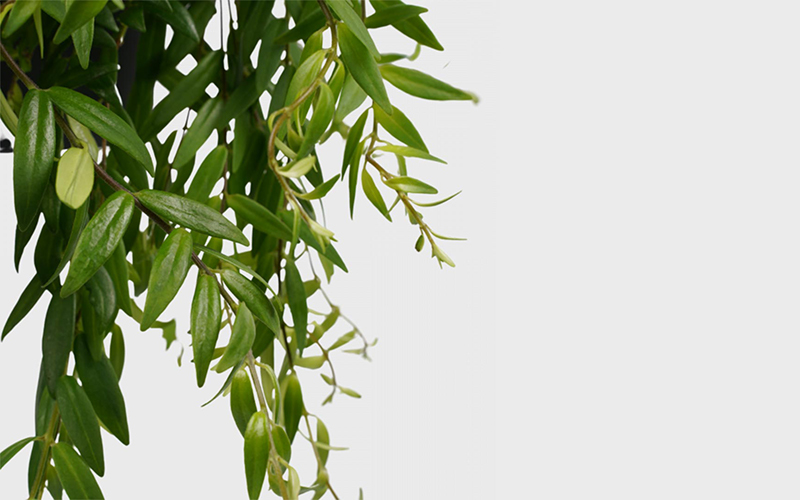
The Lipstick plant, or Aeschynanthus, is very easy to care for. Always keep the soil slightly moist and the plant will flourish. Do you want the plant to look a fuller? Then you can propagate the Lipstick plant.
The propagation of the Lipstick plant is very simple. Although you need some patience. The development of the roots can take a few months.
Supplies
First clean the scissors you might be using.
Keep the scissors under hot water and clean them well. This prevents you from unnecessarily transferring bacteria during the propagation.
Do you happen to have disinfectant or pure alcohol? Disinfect the tools after using hot water. Let's get away with those bacteria and fungi!
It is best to choose a young stem with at least 5 leaves. We recommend to cut off more than one stem. The propagating of the Lipstick plant is unfortunately not always successful.
When you're done taking the cuttings, it's best to remove the lower leaves of the cuttings.
Do you happen to have cutting powder at home? Then you can apply the cutting powder to the ‘open wound’ of the cutting. Let the powder dry well!
Don’t have any cutting powder? No problem. You can also easily propagate without. Although the use of cutting powder can stimulate root growth. So it is an interesting option to consider.
Press the cuttings into the potting soil.
A lot of time goes by before roots develop at the cuttings of Lipstick plant. It takes about two months before roots have actually developed on the cutting.
Despite the fact that the root growth of the cuttings is very slow, the cutting of the Lipstick plant has several advantages. Thanks to the cuttings you ensure that the houseplant rejuvenates. The cuttings will also promote new growth in places where the plant no longer flowers.