

Deliver to
The Netherlands
£
changeSupplies
First clean the knife you might be using.
Keep the knife under hot water and clean them well. This prevents you from unnecessarily transferring bacteria during the propagation.
Do you happen to have disinfectant or pure alcohol? Disinfect the tools after using hot water. Let's get away with those bacteria and fungi!
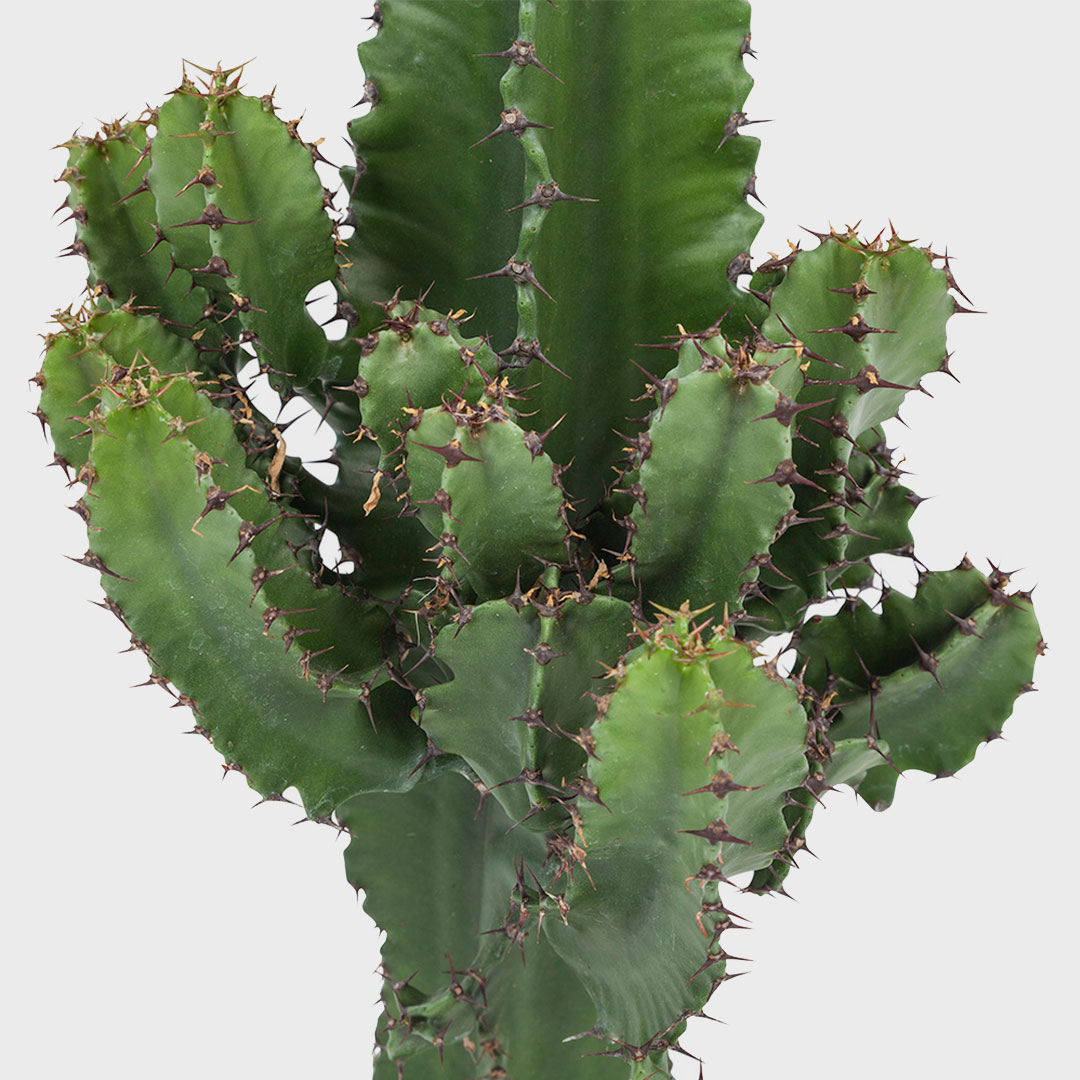
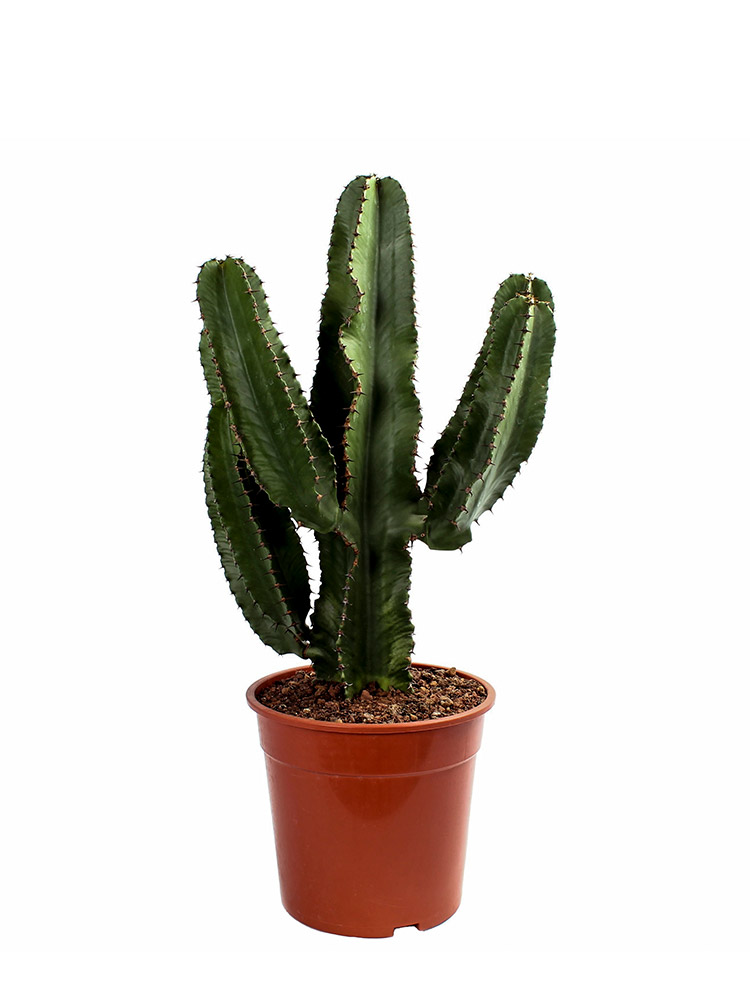
Watch out! The Euphorbia has spurge. It's best to rinse the cutting under a running tap.
Let the the cutting dry for at least a week. Choose a location with a lot of shade and not too many temperature switches.
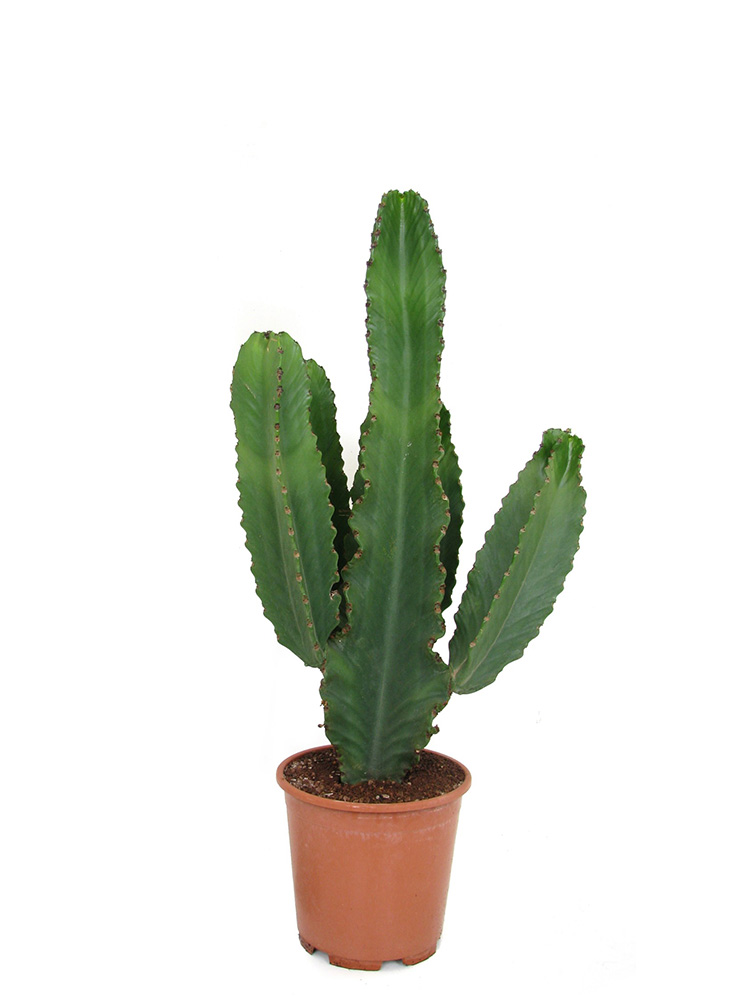
As soon as the cutting has dried you can repot the cutting. Use a mix of potting soil and sand. You can put the bump on top of the soil, or put the cuttings in the soil.
Put the cutting on a spot with a lot of indirect sunlight. It's important that you don't water the cutting. Only water the cutting when there is growth visible.